
If you want to truly understand your customers, you need more than numbers on a dashboard. You need to see the full story — every step, every touchpoint, and every emotion that shapes their experience with your product. That’s where journey mapping comes in.
Learning how to create a user journey map gives you a framework to visualize the real path your users take, from first discovery to long-term loyalty.
The goal isn’t just to document actions, but to capture the mindset behind them: what users expect, where they get stuck, and what makes them stay. When you map these journeys with clarity, you uncover relevant insights that drive smarter decisions and create experiences that feel effortless for your audience.
Done right, journey maps become a living tool for continuous improvement — helping you design with empathy, boost engagement, and turn everyday interactions into lasting relationships.
What is a User Journey Map?
A user journey map is a visual story of how someone experiences your product over time. It captures every step — the actions they take, the emotions they feel, and the roadblocks they face. Think of it as a timeline that lays out the full picture: from the very first touchpoint to long-term engagement.
Now, here’s the thing… a journey map is not just a flowchart of clicks and screens. While a user flow tells you where someone goes, a journey map explains why. It digs into mindset, motivations, and feelings at each stage. You’ll see the big questions answered:
- What’s the user trying to achieve?
- Where do they get frustrated?
- At which moments do they feel delighted?
It’s also worth drawing the line between a user journey map and a customer journey map. A user journey zooms in on interactions with your product or service itself. A customer journey takes a wider lens — covering brand touchpoints like ads, pre-purchase research, and post-purchase support.
For UX designers and product teams, this is more than a diagram. It’s a shared tool that aligns everyone around the user’s perspective. It transforms research and data into actionable insights, guiding design choices, prioritizing features, and ultimately creating smoother, more valuable experiences.
Essential Components of a User Journey Map
A solid user journey map isn’t just a diagram — it’s built from a few key elements that make the story complete. When you know these components, you can capture the insights that actually lead to meaningful improvements.
User Persona
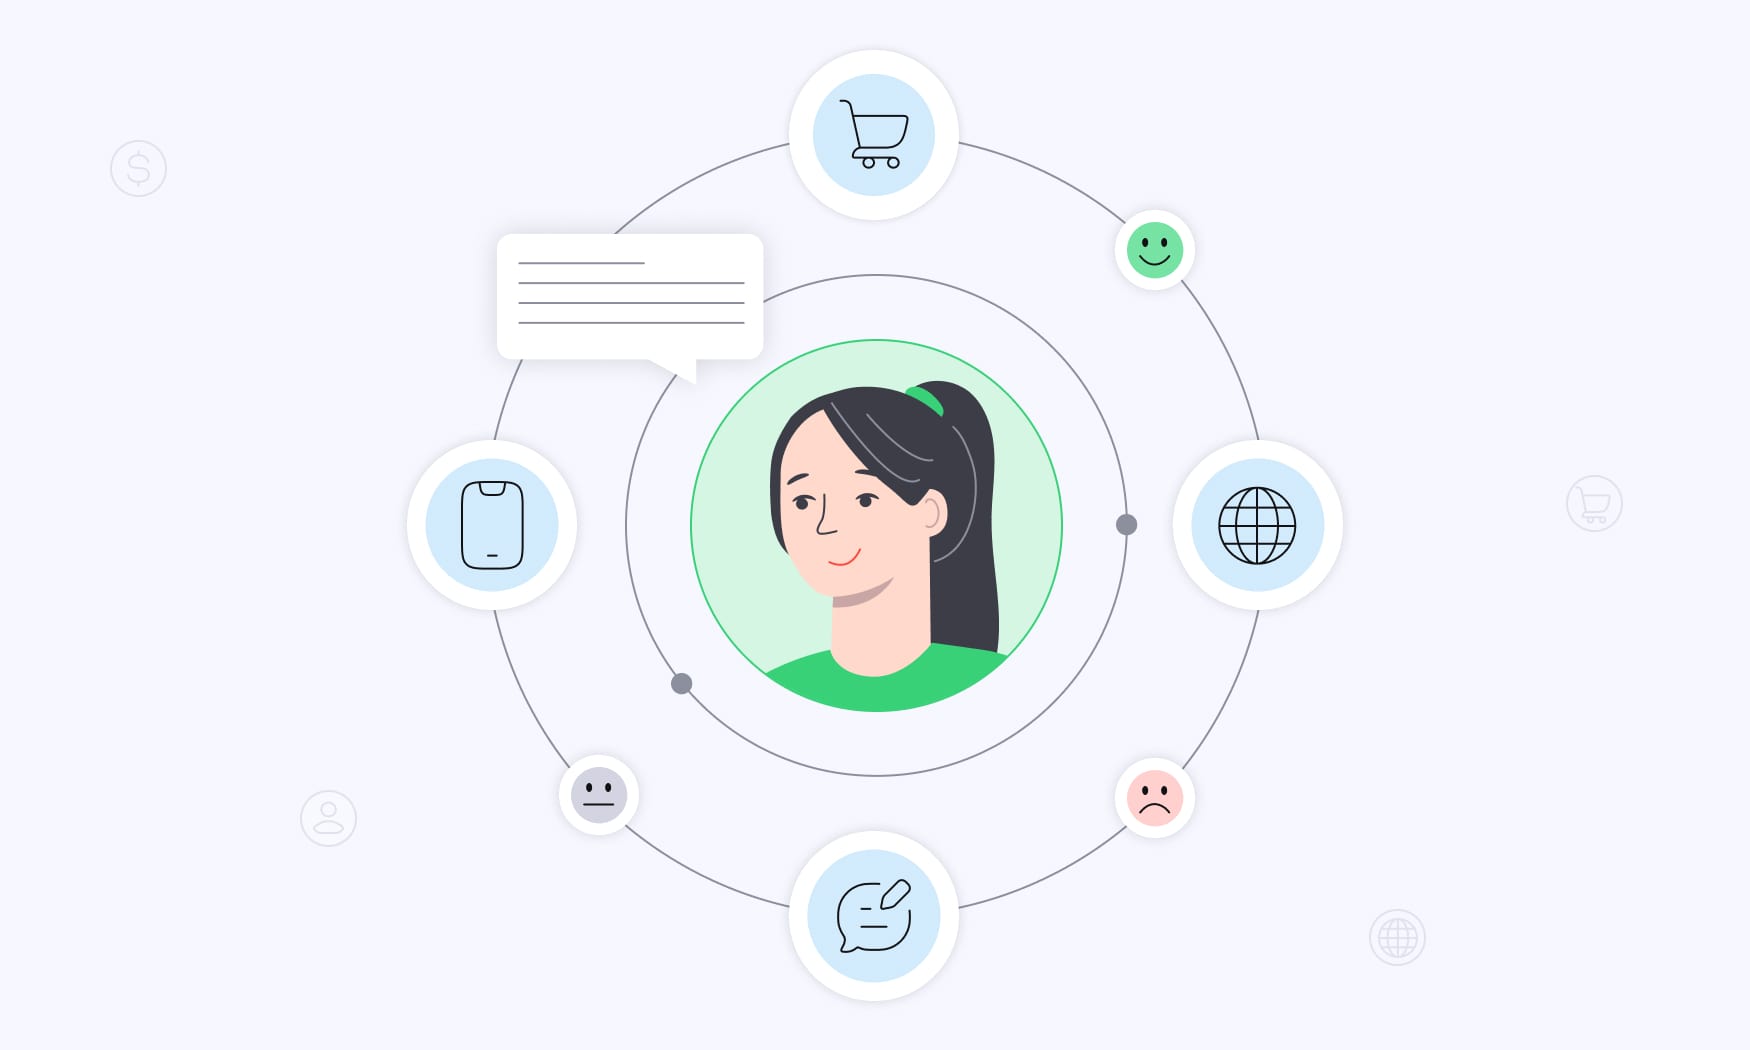
Every journey map starts with a clear user persona — a research-backed snapshot of your ideal user. This isn’t guesswork. It’s built from data, interviews, and real behavior. The persona pulls together demographics, goals, motivations, and pain points so you can see the world from your user’s perspective.
For example: Sarah, 28, a busy marketing professional who values efficiency. She gets frustrated with clunky dashboards, works mostly from her phone, and needs quick answers during her commute. Her main goal? Tools that save her time without cutting corners on quality.
Here’s the thing — one strong persona beats three weak ones. If you try to squeeze multiple personas into a single map, the insights get watered down. Instead, map one core persona at a time. If you’ve got different user groups, create separate maps. That way, each one reveals sharp, actionable opportunities instead of vague improvements that don’t move the needle for anyone.
Scenario and Context
A user journey map only works if it’s tied to a specific scenario. In other words: what’s the situation your user is in, what are they trying to get done, and what limitations are in play?
Take this example: a first-time visitor finds your product through Google while searching for a way to manage team projects. They’ve got just 20 minutes before their next meeting to decide if your solution is worth exploring further. That detail matters. It grounds your map in real-world behavior instead of an idealized flow.
Scenarios should also include expectations. What does the user assume will happen? Where do they expect speed, clarity, or support? When you map not only the steps but also the expectations, you uncover the exact points where your experience falls short — or pleasantly surprises them.
Journey Stages
To make your journey map actionable, break the experience into clear stages that mirror how users naturally move through your product. For eCommerce, that might look like: Discovery, Research, Purchase, Delivery, and Support. For SaaS, it’s often Awareness, Trial, Onboarding, Active Use, and Renewal.
Here’s the key: these stages shouldn’t reflect your internal workflows. Users don’t care about your departments. They care about their own goals and progress — and whether their customer expectations are met along the way.
Each stage needs a defined purpose from the user’s perspective. During Research, they’re comparing options and building trust. During Onboarding, they expect quick wins and guidance to feel confident using the product. By mapping stages around expectations, you’ll see exactly where the experience helps users succeed — and where friction slows them down.
Touchpoints and Channels
Your journey map needs to capture every touchpoint where users meet your brand. That includes digital touchpoints like your website, app, email, or ads — and offline ones like support calls or in-store visits. Together, they tell the story of how your target audience experiences your product from start to finish.
Don’t just focus on the interactions you directly control. Users also form opinions through external touchpoints — think review sites, social media mentions, or even word-of-mouth. These moments can heavily shape perception and should be part of your map.
To back this up with data, use analytics tools to uncover the most common paths customers take. Quantitative insights validate which touchpoints carry the most weight and often reveal surprising patterns in how people really navigate their journey.
Step-by-Step Guide to Creating Your User Journey Map
Building a powerful journey map isn’t guesswork. It takes structured research, clear goals, and a plan you can actually act on. Let’s start with the foundation.
Step 1: Define Your Scope and Objectives
Before anything else, decide why you’re mapping this journey. Are you looking to lift conversion rates, cut churn, or fix friction in a specific feature? Setting sharp objectives keeps you focused on what matters instead of drowning in details.
Next, pick the right scope. Do you want a high-level journey that shows the big picture from awareness to loyalty? Or a detailed journey that zooms into a single task, like completing checkout or activating a feature? Both are useful — it depends on the insights you need right now.
Don’t skip the metrics. Success needs to be measurable. That might mean tracking task completion rates, time-to-value, customer satisfaction scores, or business KPIs like conversion rate or lifetime value. Numbers give you proof when improvements work.
Here’s a solid example of scope: “Map the first-time user experience for completing account setup in our mobile app. Focus on cutting the 40% abandonment rate and speeding up time-to-value for new signups.”
Step 2: Build Research-Based User Personas
Your user journey map is only as strong as the personas behind it. That means starting with solid research — not assumptions. Pull insights from user interviews, surveys, analytics, feedback forms, and even support tickets.
Focus on one or two core personas to keep the map sharp. Each should include basics like demographics and tech comfort level, but more importantly, their goals, frustrations, and preferred ways of interacting. The goal is to see the world through their eyes.
Always validate with numbers. If analytics show 60% of users access via mobile, your persona needs to reflect mobile-first behavior. If customer interviews reveal frustration with slow onboarding, write it down in their own words. Quotes and stats make personas real, not abstract.
And don’t silo this work. Involve your whole team — marketing, product, support. When everyone shares the same picture of your target audience, the journey map becomes a true alignment tool instead of just a UX artifact.
Step 3: Map All Customer Touchpoints
Once you’ve defined who you’re mapping for, list every touchpoint where they meet your brand. Start chronologically: how do they first discover you, and what happens next?
Include:
- Owned touchpoints — your website, app, emails.
- Earned touchpoints — reviews, referrals, word-of-mouth.
- Paid touchpoints — ads, sponsored content.
Use analytics to back this up. Look at traffic sources, conversion funnels, and page flows to see how people actually move through your product, not just how you think they do.
Don’t ignore offline. Even digital-first companies have human touchpoints — a support call, a conference meetup, even a printed flyer. These moments often carry outsized weight in the overall experience.
A full list might include: social ads, search results, your homepage, sign-up forms, onboarding emails, in-app tutorials, billing notifications, support chat, and post-purchase follow-ups. Together, these paint the real path your customers take — bumps, surprises, and all.
Step 4: Define Journey Stages and User Actions
Break the journey into four to seven clear stages that reflect how users see their own progress. Remember — this should mirror their mindset, not your org chart.
At each stage, document the exact user actions. For example, during account creation, that could be: click sign-up, enter email, verify email, complete profile. Don’t just track the happy path — map the dead ends too. These reveal where user expectations aren’t met and where guidance could make a huge difference.
Pay close attention to decision points. When a user encounters a fork — like choosing between plans, or deciding to continue vs. abandon — that’s where you find opportunities to simplify and support.
And don’t limit yourself to actions inside your product. Many journeys include outside steps like researching competitors, reading reviews, or asking peers for advice. Capturing these moments gives you relevant insights into the bigger picture that shapes the final decision.
Step 5: Capture Emotions and Pain Points
A journey map without emotions is just a flowchart. To make it meaningful, you need to capture how users feel at every stage. Pull in quotes from interviews, surveys, or support tickets — the real words people use are what bring empathy to the data.
Be specific about pain points. Instead of saying “users are unhappy,” call out what’s broken: slow page load, confusing navigation, missing instructions, delayed confirmations. When a user encounters these, they’re not just frustrated — their trust in your product takes a hit.
To make this visible, use an emotional scale (like -3 to +3) to mark highs and lows along the journey. Seeing frustration spikes next to moments of delight helps you spot where user expectations are met — and where they’re not.
Authentic feedback such as “I couldn’t figure out where to click next” or “The confirmation email took forever” makes the map resonate with your team. It connects behavior to real emotions — and that’s where the most relevant insights come from.
Step 6: Identify Improvement Opportunities
Once you’ve mapped pain points, it’s time to flip them into opportunities. Don’t just write “users are confused.” Turn it into a solution: “Add a progress bar to reduce uncertainty during multi-step checkout.” This transforms frustration into a path toward better user engagement.
Not all improvements are equal, so prioritize. Quick wins — high impact, low effort fixes — build momentum and earn trust across the team. Meanwhile, bigger issues might need longer-term solutions, like redesigning workflows or adding entirely new features.
Ownership matters here. Assign improvements to specific team members and set timelines so opportunities don’t just sit on a slide deck. Execution is where customer loyalty is won or lost.
Finally, balance the short and long game. Some fixes are as simple as tweaking copy. Others may require structural changes. By layering both, you create a journey that keeps users engaged today while building loyalty for the long run.
Types of User Journey Maps
Not every journey map serves the same purpose. The type you choose depends on your goals, the data you have, and where your product is in its lifecycle. Knowing the difference helps you pick the right customer journey map template and avoid wasting time on the wrong approach.
Current-State Journey Maps
Current-state maps capture the existing user experience exactly as it happens today. They don’t rely on guesses or assumptions — instead, they are rooted in real analytics data, direct customer feedback, usability testing, and observational research. The goal is accuracy. You want to see what actually happens, with all the flaws, gaps, and friction points included.
These maps are particularly useful when you need to:
- Identify pain points that cause users to drop off.
- Understand why conversion rates are lower than expected.
- Diagnose usability problems that might not be obvious from surface metrics.
Because they are based on real evidence, current-state maps often deliver surprising insights. You may find that users are completing tasks in ways you never designed for, or that features your team considered critical are rarely used at all. These discoveries highlight where the user experience doesn’t match user expectations.
The strength of current-state maps lies in their grounding. By drawing on analytics tools, customer support logs, interviews, and testing, you create a detailed snapshot of reality. This gives you a concrete baseline to improve upon and ensures that changes are targeted at real problems instead of imagined ones.
If your goal is to create customer journey map that reveals what’s truly happening inside your product today, the current-state model is the right choice.
Future-State Journey Maps
Future-state maps, on the other hand, focus on the experience you want users to have in the future. They are aspirational and strategic, envisioning the ideal journey after improvements, new features, or even new products are introduced. These maps are particularly powerful for aligning teams around a shared vision of what the user experience should become.
You would use a future-state map when:
- Planning a major redesign of your product.
- Developing a completely new product or service.
- Establishing a long-term UX or customer experience strategy.
While these maps are forward-looking, they should never drift into fantasy. The best future-state maps are still grounded in user research and realistic constraints, and they evolve naturally from the insights uncovered in current-state mapping. By connecting today’s problems with tomorrow’s opportunities, you create a clear roadmap for improvement.
Future-state maps also benefit from early validation. Testing concepts through prototypes, mockups, and user feedback before committing to development ensures that the “ideal” experience you imagine will genuinely improve outcomes. Without validation, it’s easy to design experiences that look good on paper but fail to resonate with real users.
In short, future-state journey maps allow teams to plan strategically, align on priorities, and ensure that customer expectations and business goals move forward together. They help teams imagine a better experience and then refine that vision with real-world input, so improvements don’t just look innovative — they deliver measurable impact.
Best Practices for Effective Journey Mapping
A journey map only has real value if it leads to measurable improvements in the user experience. To make sure your work delivers impact, follow these best practices and turn mapping into a practical tool for change.
Always focus on actionable insights rather than simple documentation. Each pain point should highlight a specific improvement, and every opportunity should outline a clear step toward implementation. A journey map that sits unused in a file offers no value, while a user journey map helps when it directly informs decisions and drives tangible improvements.
Keep your maps alive by updating them regularly as products evolve and user behavior shifts. A quarterly review cycle works well, allowing you to incorporate fresh research, analytics findings, and product changes. Static maps lose relevance quickly, and outdated references can even harm decision-making.
Bring cross-functional teams into the process. Include UX designers, product managers, marketing, engineering, and customer service. Each group brings unique perspectives, and the collaboration ensures you surface insights a single team would miss. It also builds alignment and buy-in across the organization, which is essential for meaningful improvements.
Limit each journey map to one core persona to protect clarity. Real users are diverse, but combining too many personas into one map dilutes insights and makes it nearly impossible to prioritize effectively. Instead, focus on one at a time and create separate maps as needed.
Ground your map in authenticity by weaving in direct quotes and real data points. Stakeholders respond better to specific evidence than to generic claims about user behavior. Quotes and numbers make the story credible and persuasive.
Finally, design maps so they are visually clear, engaging, and easy to navigate. A journey map is also a communication tool, and the way it looks determines whether teams actually use it. Clean, intuitive visuals encourage adoption and make stakeholders want to engage with the findings.
Conclusion – Turning User Journey Maps into Action
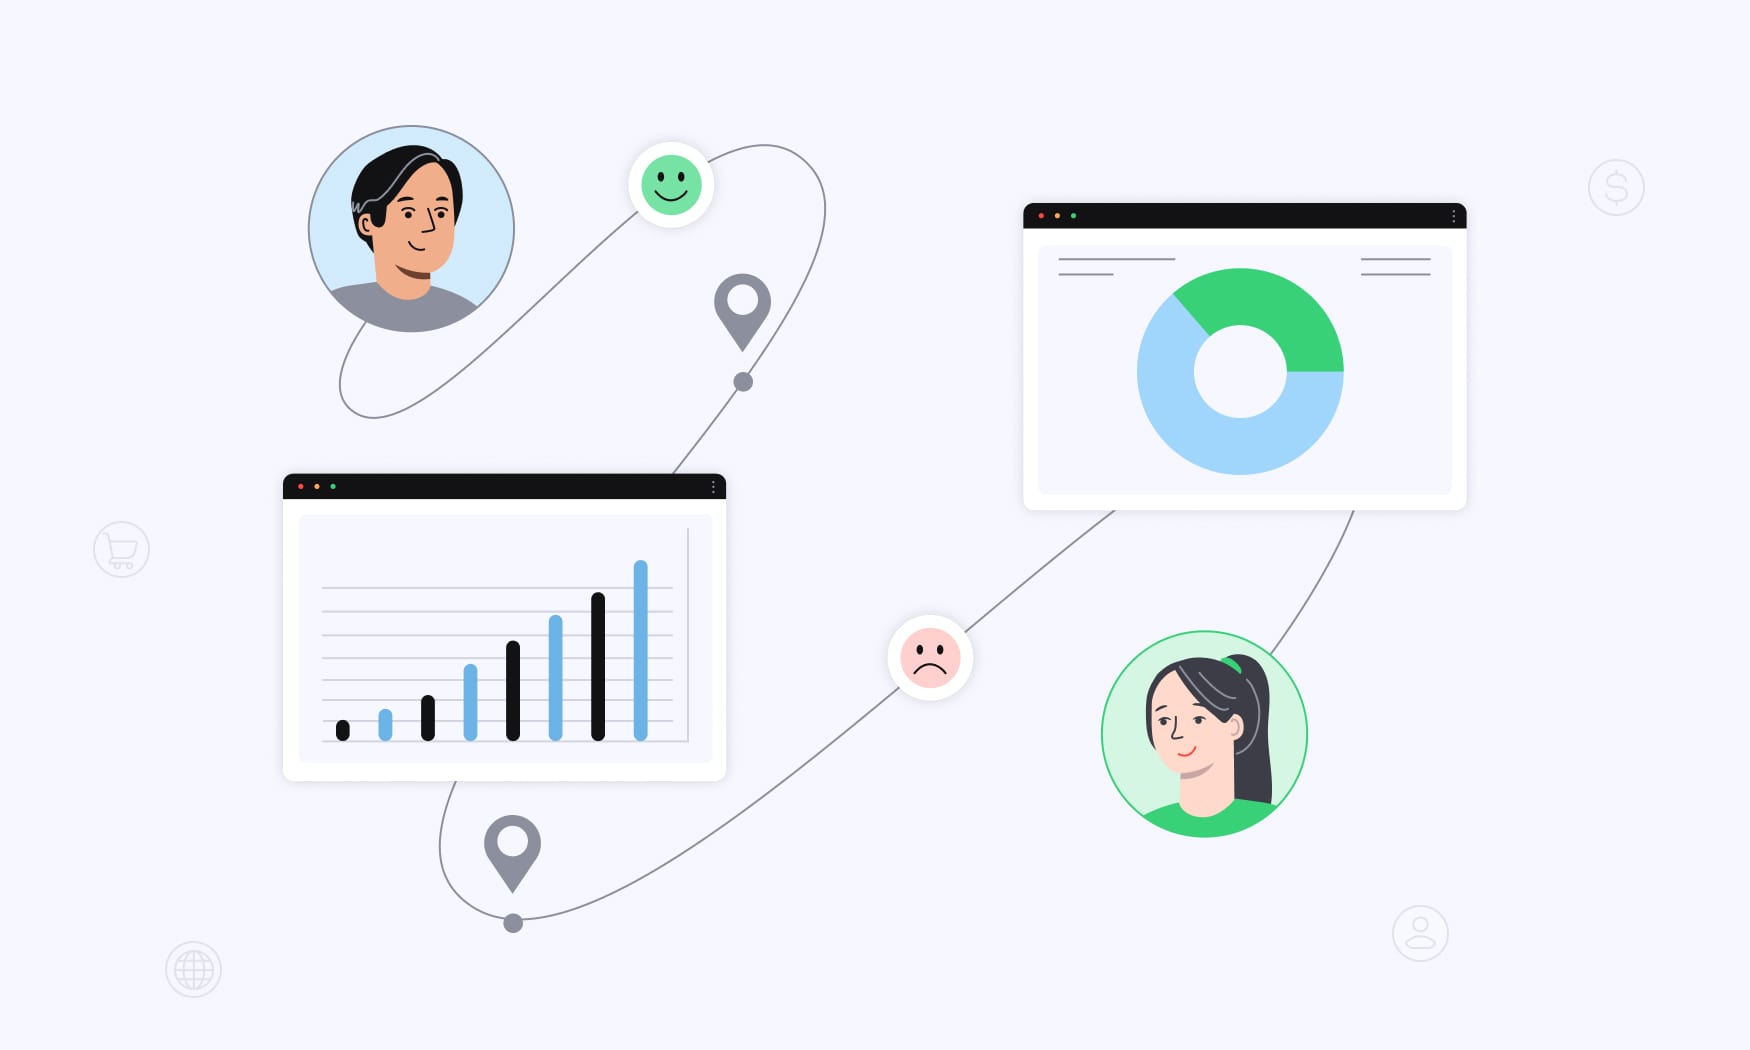
An user journey map is more than a visual diagram. It’s a tool for understanding how people experience your product, where they encounter friction, and what keeps them coming back.
When done well, journey mapping turns abstract research into a practical roadmap for improving both user satisfaction and business outcomes.
The real value comes not from creating the map once, but from validating and refining it over time.
Start by comparing your map against real user behavior — through usability testing, analytics data, and direct customer feedback. Every time you uncover a gap between what you think happens and what actually happens, you gain an opportunity to refine the map and uncover more relevant insights.
Validation should cover both actions and emotions.
Analytics can reveal where users drop off, but interviews and feedback explain why they disengage.
Together, this combination highlights not only the visible obstacles but also the hidden frustrations that undermine trust and loyalty. Testing improvements through controlled experiments or A/B tests ensures that changes actually deliver better outcomes instead of just looking promising on paper.
Refinement should be ongoing.
User expectations shift, products evolve, and new touchpoints emerge. A static map quickly loses its value, while a living, regularly updated map becomes an engine for continuous improvement. Assign ownership within your team, schedule periodic reviews, and keep stakeholders engaged in the process. The more collaborative the effort, the more alignment you build across design, product, marketing, and support.
The bottom line? Customer journey maps work best when they’re grounded in evidence, validated with real users, and treated as dynamic tools rather than one-time deliverables. They give you the clarity to prioritize what matters most, the empathy to design with users in mind, and the structure to guide long-term strategy.
This is exactly where RedTrack fits in.
By connecting the dots between user touchpoints, conversions, and ad performance, RedTrack ensures your journey maps aren’t just theoretical.
They’re backed by accurate attribution, real-time reporting, and actionable insights across every channel.
With RedTrack, you can validate the customer journey with data, refine it with confidence, and ultimately turn every insight into higher engagement, stronger loyalty, and better returns on ad spend.


